Mid Drop
Fade Haircut
A mid drop fade starts at mid-temple height, curves downward behind the ear, and finishes low at the nape, giving more shape than a standard level fade without extra upkeep. It works across straight, wavy, curly, and coily hair, pairs naturally with a beard, and needs a touch-up every 2 to 3 weeks.
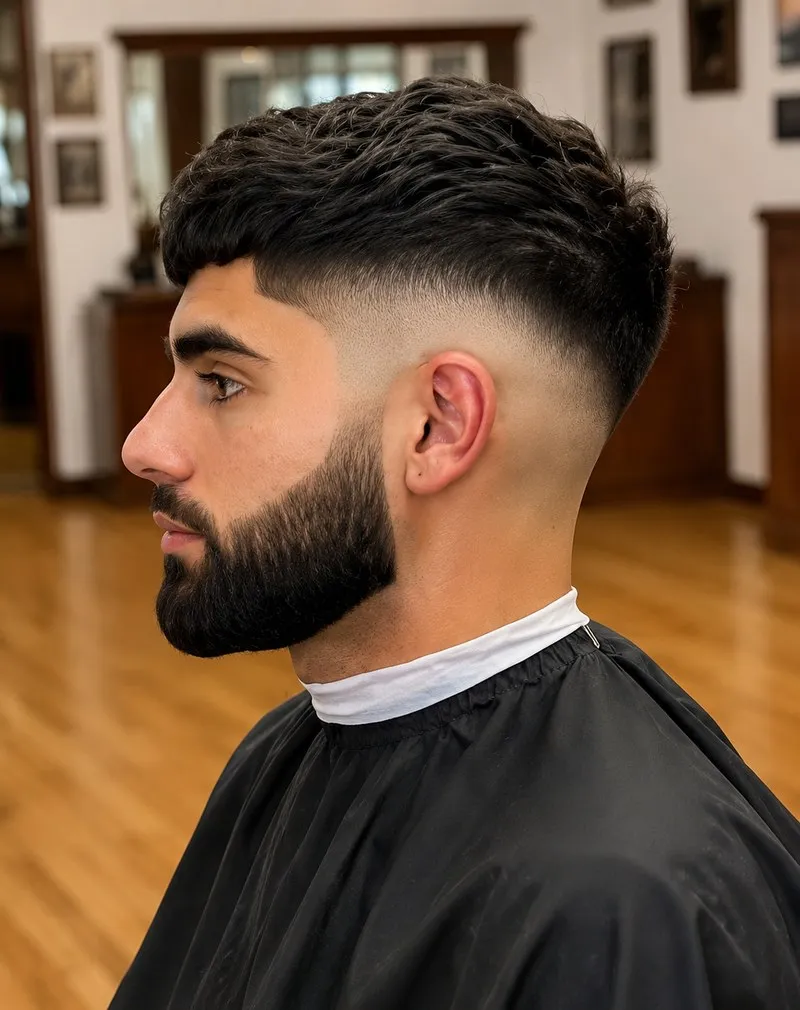
- The drop curves downward behind the ear; a regular fade stays level the whole way around. That curve alone is what separates the two.
- It works with any hair type, and pairs especially well with a beard fade.
- Expect a touch-up every 2 to 3 weeks to keep the blend looking sharp.
- Style it 14 different ways on top, from a buzz cut to a pompadour, plus dedicated guides for a mullet, bald fade, and more.
What is a
mid drop
fade?
The mid drop fade sits between a low fade and a high fade in where it starts, but the curve is what defines it. A straight, level fade holds one height all the way around the head. This one begins at mid-temple height and drops as it travels back, finishing at its lowest point at the nape of the neck.
That drop is the signature detail. On a regular mid fade, the line stays level all the way around. On a mid drop fade, it bends downward behind the ear, which adds shape and contrast without needing a sharp part or design. It works on almost any hair type and pairs cleanly with a beard, since the lowest point of the drop tends to line up with where a beard fade naturally starts.
| Attribute | Mid Drop | Mid Fade | Low Drop |
|---|---|---|---|
| Line path | Curves down behind the ear | Level all the way round | Curves down behind the ear |
| Starts at | Mid-temple | Mid-temple | Just above the ear |
| Rebook every | 2 to 3 weeks | 2 to 3 weeks | 3 to 4 weeks |
Because the drop height and curve angle can be adjusted, the same basic cut can look subtle and professional or sharp and aggressive depending on how a barber blends it, which is why it shows up across so many variations. See the full range of mid drop fade styles to find which top works best with yours.
How it's cut
Consultation & sectioning
The barber checks hair growth pattern, density, and head shape, then decides where the drop point should sit based on your face shape and how much contrast you want.
Set the baseline
A trimmer or foil shaver sets the lowest point if you're going skin-level, or a closed-lever #0 to #0.5 if you want a softer finish. The baseline is kept even from the start, since chasing an uneven line upward is a common cause of bad fades.
Mark the drop line
Starting at mid-temple, the barber runs a #1 guard with the lever open to establish the highest point of the fade, then guides that line downward and back, setting the curve that makes this style distinct.
Blend the taper
The barber erases the hard baseline using lever control and half guards, then climbs through #1.5 and #2 as the fade moves upward. Each section is blended so no visible line remains between guard changes.
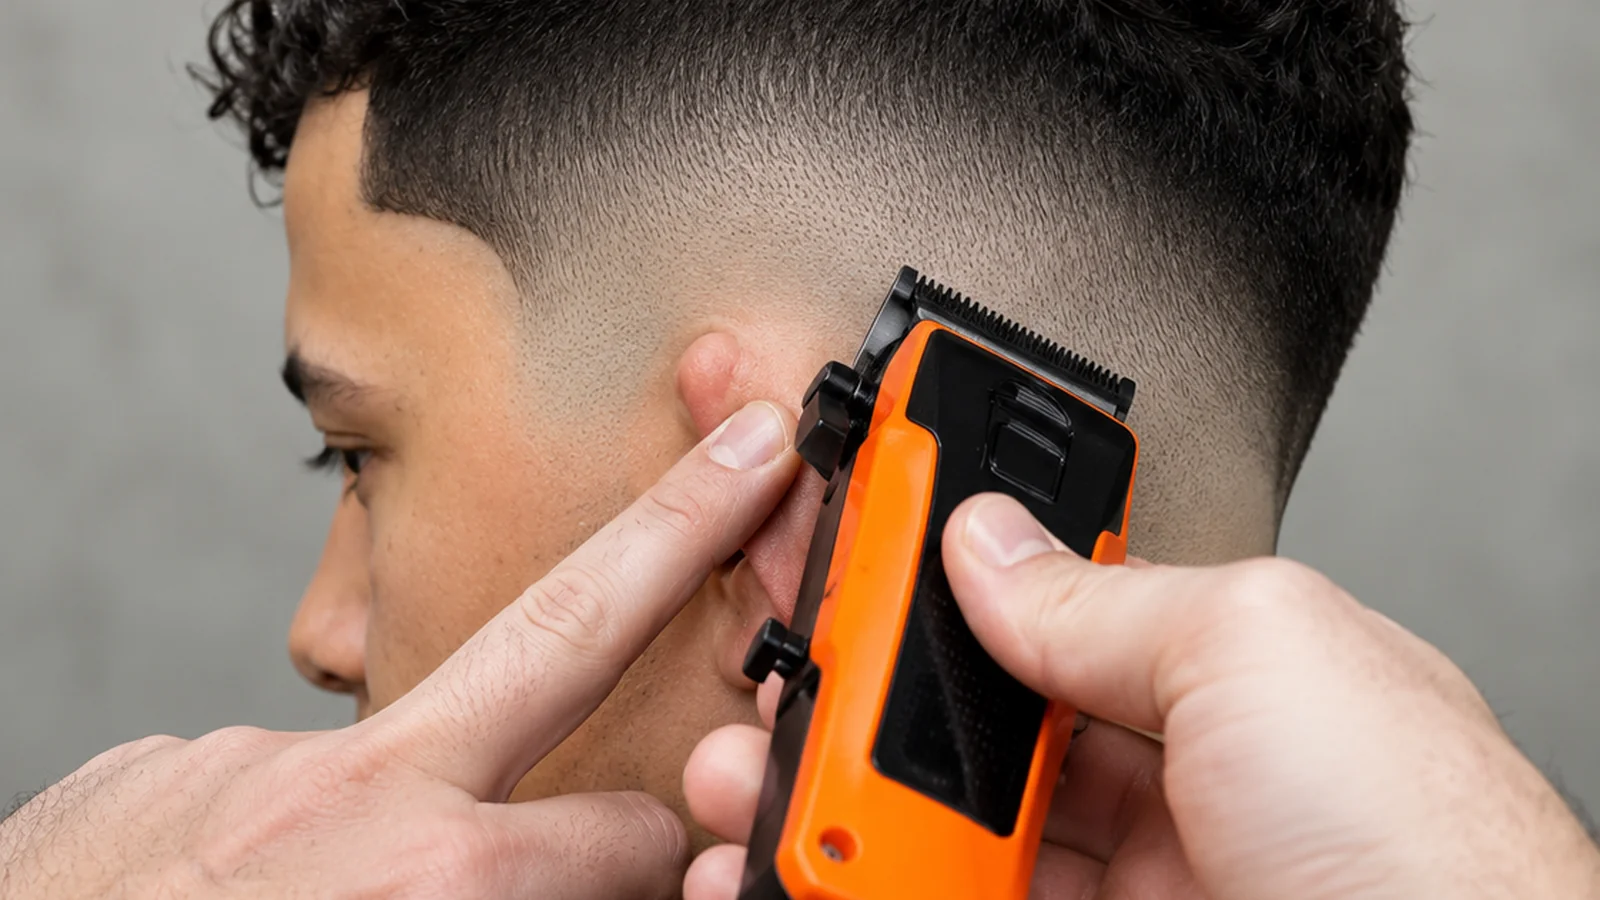
Drop into the nape
The curve continues past the ear and finishes at its lowest point at the nape, which is what separates this from a fade that stays level all the way around the head.
Finish & style the top
With the fade blended, the barber moves to the top, texturizing, point cutting, or scissor work depending on whether you're going for a quiff, comb-over, textured crop, or another top style.
Who Does a Mid Drop Fade Suit?
By face shape
The drop height changes how the cut frames your jawline, which is why the right starting point depends on your face shape. Round faces usually want a higher drop for added length, while square faces can take a lower, subtler curve. Oval, heart-shaped, and long faces each have their own best-fit version below.
By hair type
The fade itself works the same regardless of texture: it's cut into the sides and back, not the top. Straight, wavy, and curly hair all take the drop cleanly, and on textured and afro hair the contrast against the curl pattern on top makes the drop line stand out even more. Curly and coarse textures do take longer in the chair, since the barber works in smaller sections and often uses a comb to guide the clippers.
Who Should Avoid a Mid Drop Fade?
- Very fine or thinning hair at the temples. The drop line has less density to work with there, and can look patchy, not sharp.
- Strong cowlicks or growth patterns right behind the ear. These can fight the direction of the curve and take real skill to blend around cleanly.
- Anyone chasing the lowest possible maintenance. The curved line shows regrowth faster than a level fade, and still needs the same 2 to 3 week schedule to stay sharp.
- First time going to a new barber with no reference photo. The drop is easy to misjudge without a clear visual to work from, more so than a simple level fade.
Mid drop fade styles
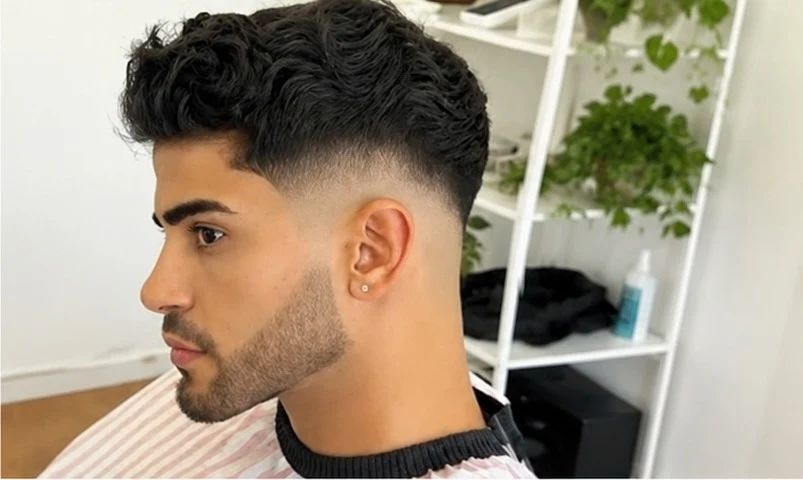

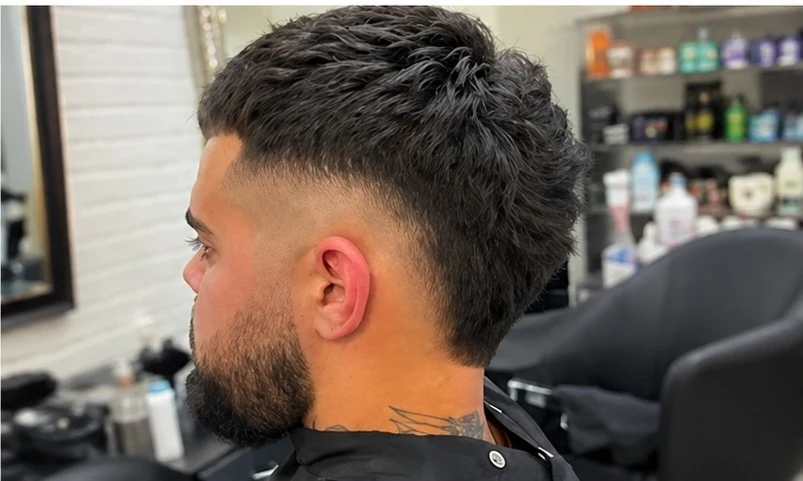
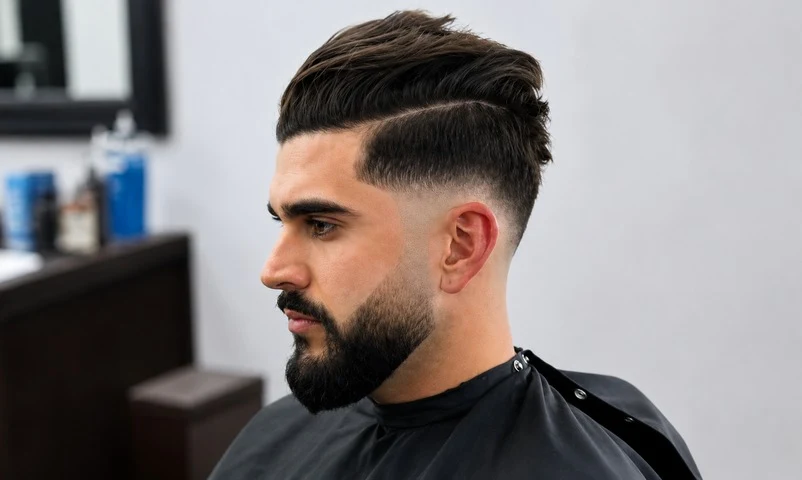
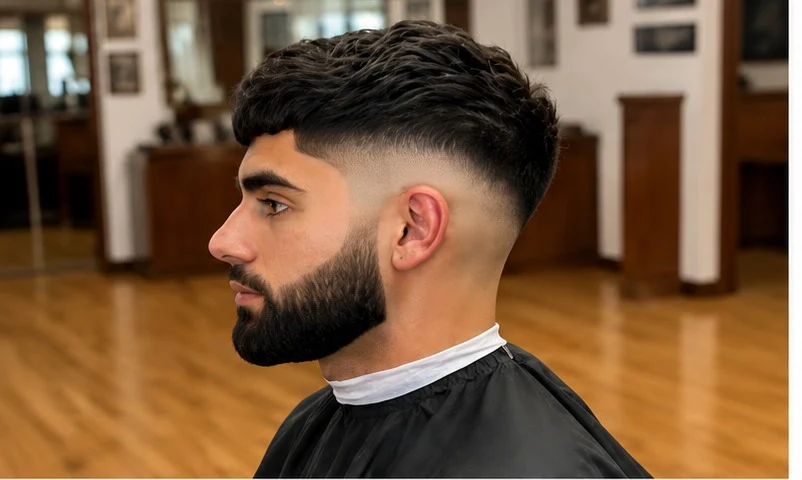
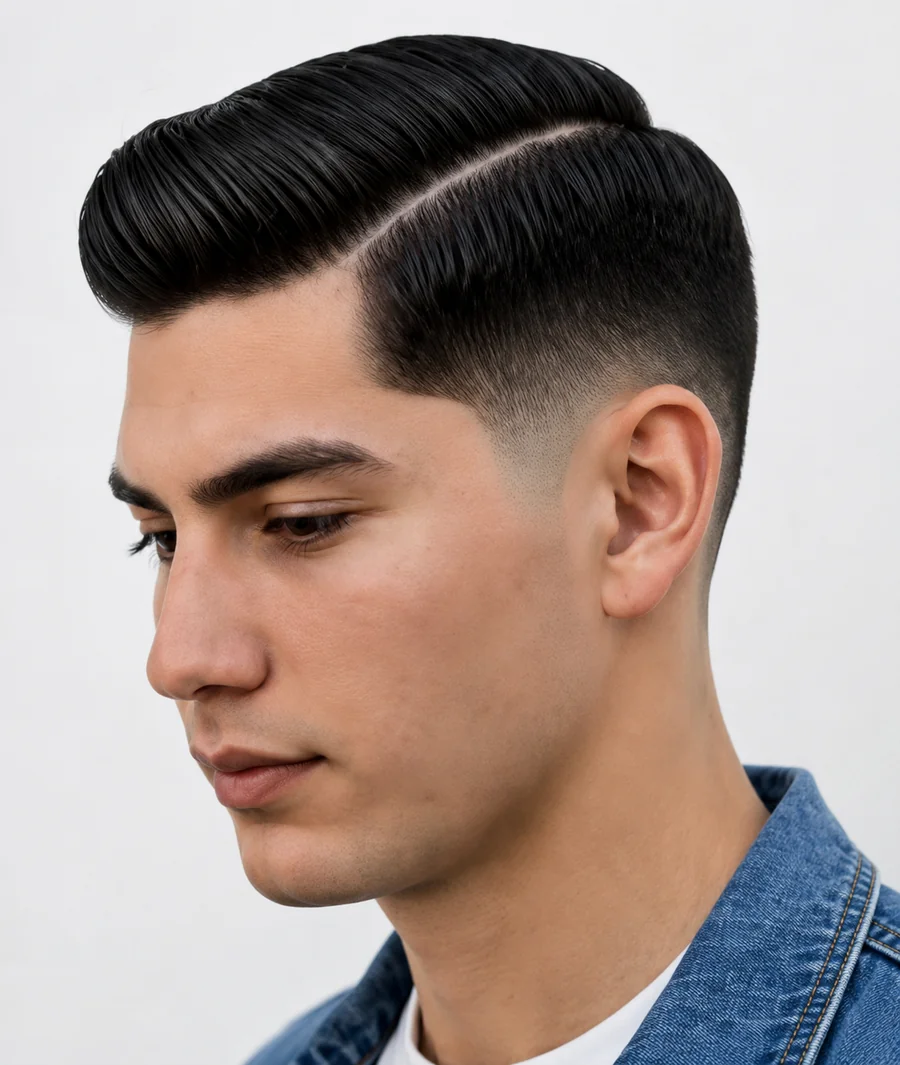
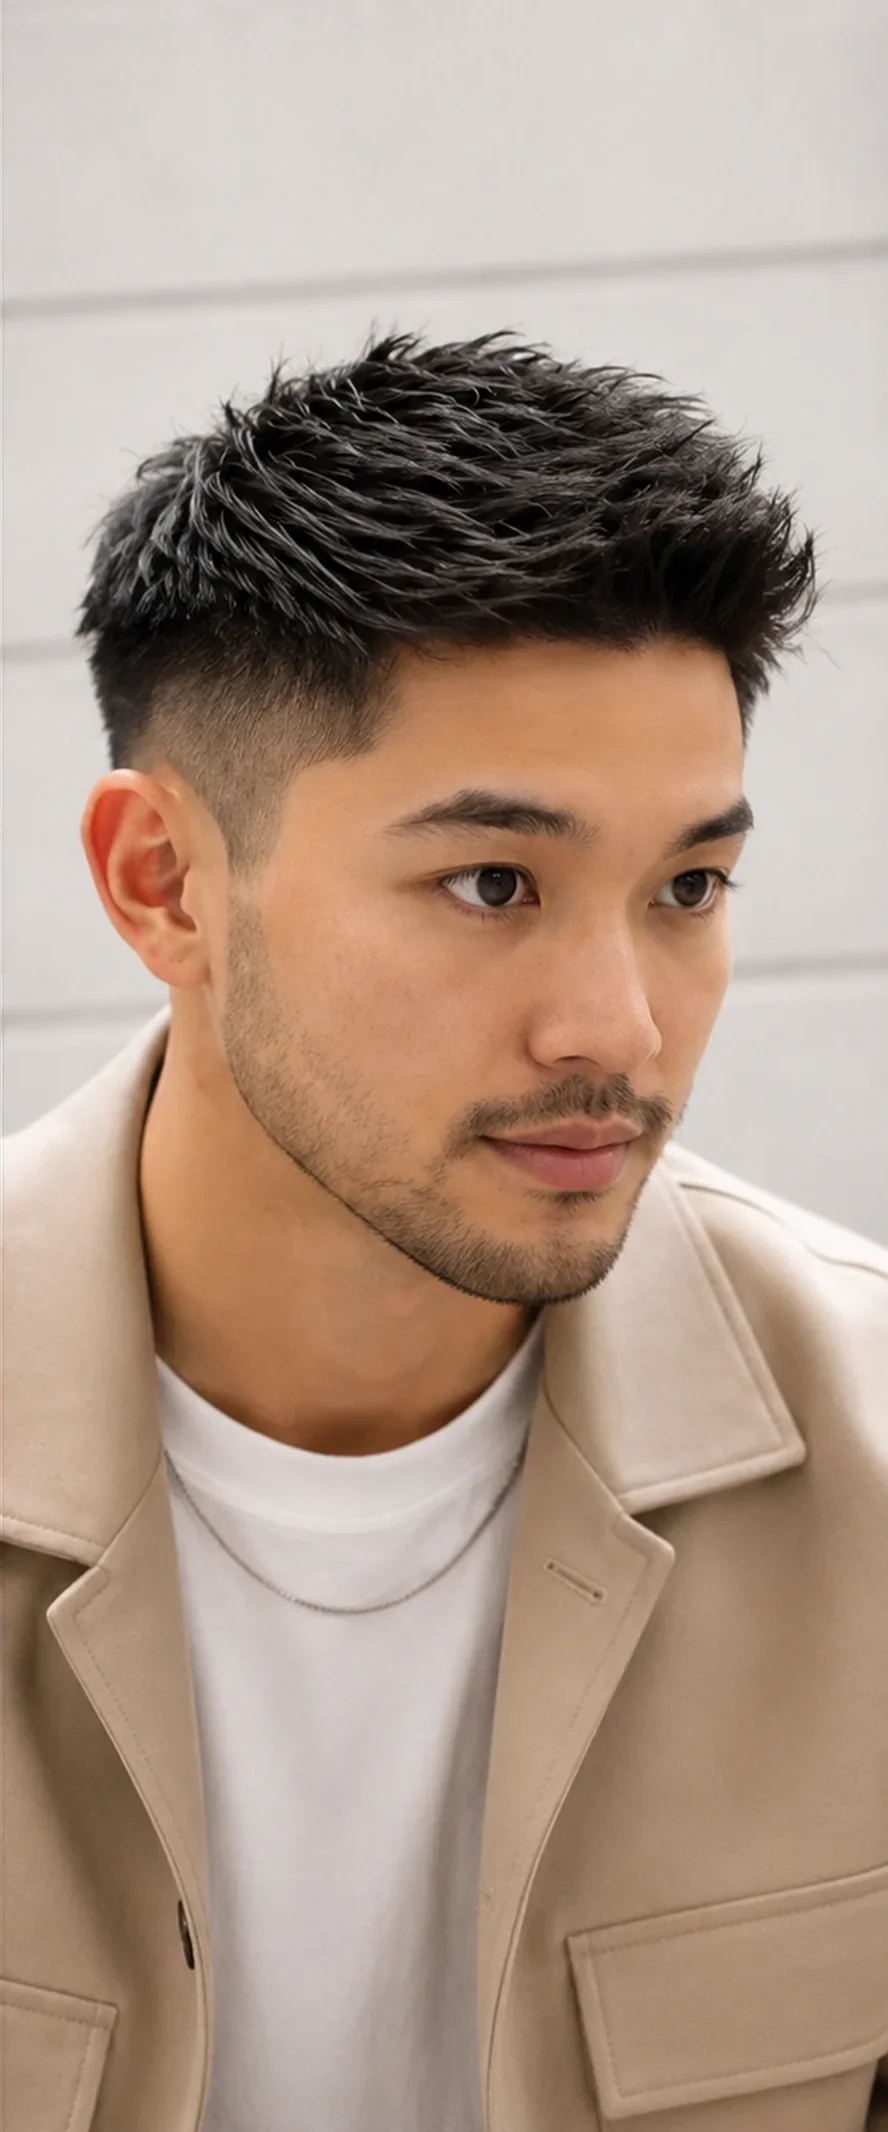

Mid drop fade sub-styles
Mid drop fade vs other fades
| Style | Key difference | Contrast | Best for |
|---|---|---|---|
| Low drop fade | Starts lower, drops less dramatically, a subtler taper overall. | Conservative, low-contrast looks | |
| High drop fade | Starts higher up, often near the crown, for a more dramatic drop. | Maximum contrast and edge | |
| Mid fade | Stays level all the way around, no curve or drop at all. | Clean, classic, no-fuss styling | |
| Mid taper fade | Tapers gradually, without fading all the way to the skin. | Softer, more natural blend | |
| Burst fade | Curves in a tight circular burst around the ear, shorter and rounder than a drop fade's longer diagonal line. | Rounded, ear-focused shape | |
| Skin fade | Fades all the way down to bare skin, shorter than any guard length. | Sharpest possible contrast |
Common mistakes
Going to a barber unfamiliar with drop fades specifically. A straight, level fade and a drop fade use a similar base technique, but the curve takes more practice to blend cleanly. Ask if the barber has done drop fades before, not just fades in general.
Not bringing a reference photo. Drop height and curve angle are easy to describe differently than what you picture. A photo removes the guesswork.
Waiting too long between touch ups. The blend still runs on the same 2 to 3 week schedule as a standard fade, but a curved line shows a fuzzy regrowth line sooner within that window than a straight one does. Stretching past 3 weeks is when it starts looking uneven.
Ignoring your natural growth pattern. Cowlicks and hair whorls near the temple and behind the ear can distort how the drop sits. A good barber checks this during consultation, not after the clippers are already out.
Pros and cons
Pros
- Adds shape and contrast without needing a hard part or design cut
- Works with any hair type and most face shapes
- Pairs naturally with a beard fade
- Flexible with top length and styling, from buzzed to long and textured
Cons
- The curved line shows a fuzzy regrowth edge sooner than a level fade, even on the same 2 to 3 week schedule
- Harder to execute well than a basic fade, so barber experience matters more
- Not the easiest to maintain fully at home between visits, especially the curve itself
Is a mid drop fade right for you?
Choose a mid drop fade if: you want more shape than a basic fade, you are comfortable with a barber visit every 2 to 3 weeks, and you like the option to pair it with a beard or a variety of top styles.
Consider a low drop fade instead if: you want a subtler, lower maintenance version of the same idea.
Consider a standard mid fade instead if: you prefer a completely level line with no curve, or want the simplest possible cut to explain to any barber.
Frequently
asked
questions
What does a mid drop fade look like?
What's the difference between a mid drop fade and a low drop fade?
How long does a mid drop fade take to grow out?
Can a barber mess up a mid drop fade?
How long does the cut take in the chair?
Does a mid drop fade work with curly hair?
Can you do a mid drop fade at home?
Is a mid drop fade professional enough for work?
How much does a mid drop fade cost?
Can you pair a mid drop fade with glasses?
What do I say to my barber to get this exact cut?
Fade Line is independent and not affiliated with any barbershop chain or brand mentioned on this site. Updated September 2026.