Mid Drop Fade
DIY at Home
You can cut a mid drop fade at home — but not all of it, and not on your first go. Here's what's realistic, what isn't, and how to fix it when it goes wrong.

Can you cut a mid drop fade at home?
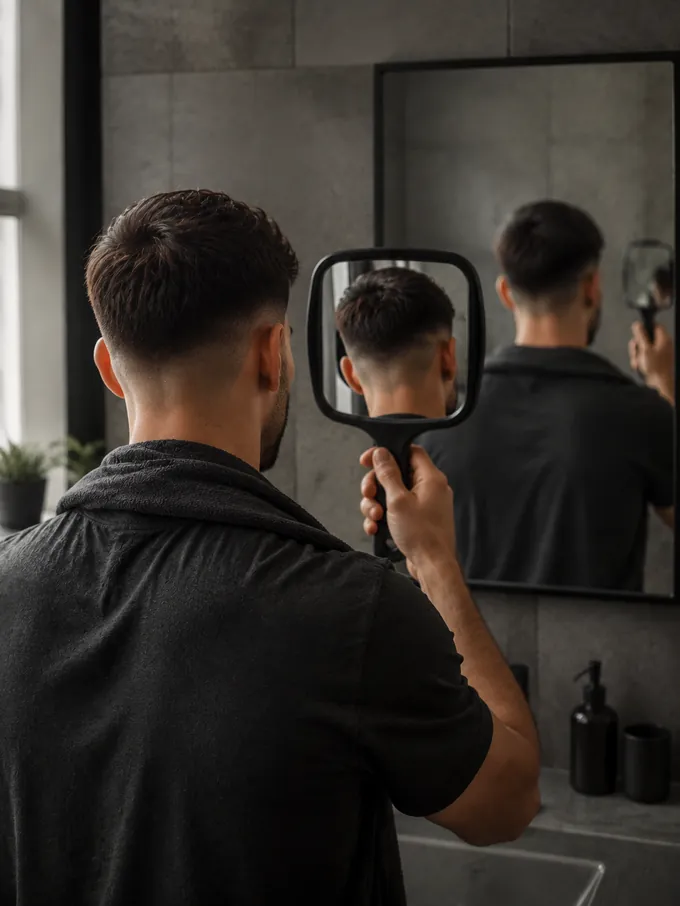
The reason is specific and physical: the drop curve happens behind your ear, which is the one place on your own head you cannot see while your hands are working. Sides are manageable in a mirror. The back is hard. The curved section joining them is where almost every home attempt falls apart.
Cutting a mid drop fade at home also needs a technique most beginners don't have — a gentle rocking or C-shaped motion with the clipper, plus lever adjustments between guard sizes. Without it you get a hard line instead of a gradient, which is the single most common DIY result.
What that means in practice: if you're cutting someone else's hair, this is learnable with patience. If you're cutting your own, start with maintenance and edges, and build up. Attempting a full first fade solo the night before something important is how people end up buzzing their whole head.
What's realistic to do yourself
Not all DIY tasks are equal. This is roughly how they rank by difficulty when you're working on your own head:
| Task | Verdict | Why |
|---|---|---|
| Neckline cleanup | Easy | Flat area, forgiving, and the highest-value habit for stretching time between cuts. Start here. Covered in the maintenance guide. |
| Sideburns and stray edges | Easy | Visible in a normal mirror, small adjustments, low consequence if you go slowly. |
| All-over buzz cut | Easy | One guard, no blending required. This is also your emergency fallback if a fade goes wrong. |
| Refreshing an existing fade | Moderate | You're following lines a barber already set rather than creating them. Still needs two mirrors and a light hand. |
| A level fade from scratch | Hard | Requires real blending across guard sizes, and the back is difficult to see and reach. |
| A drop fade from scratch, on yourself | Very hard | Everything above, plus a curved line in the exact blind spot behind your ear. This is the one to do on someone else first. |
What you need and what can go wrong
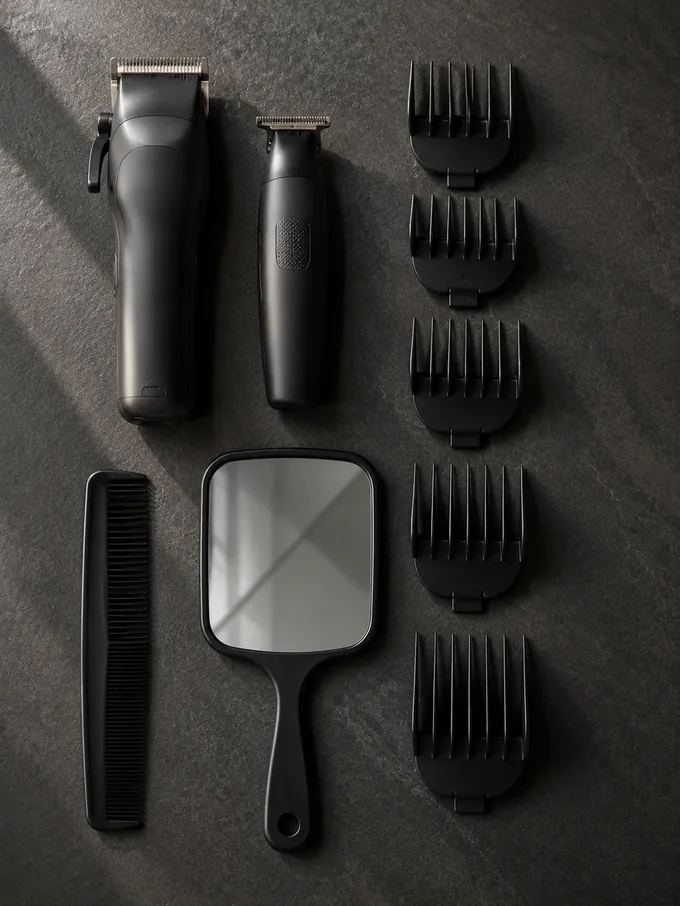
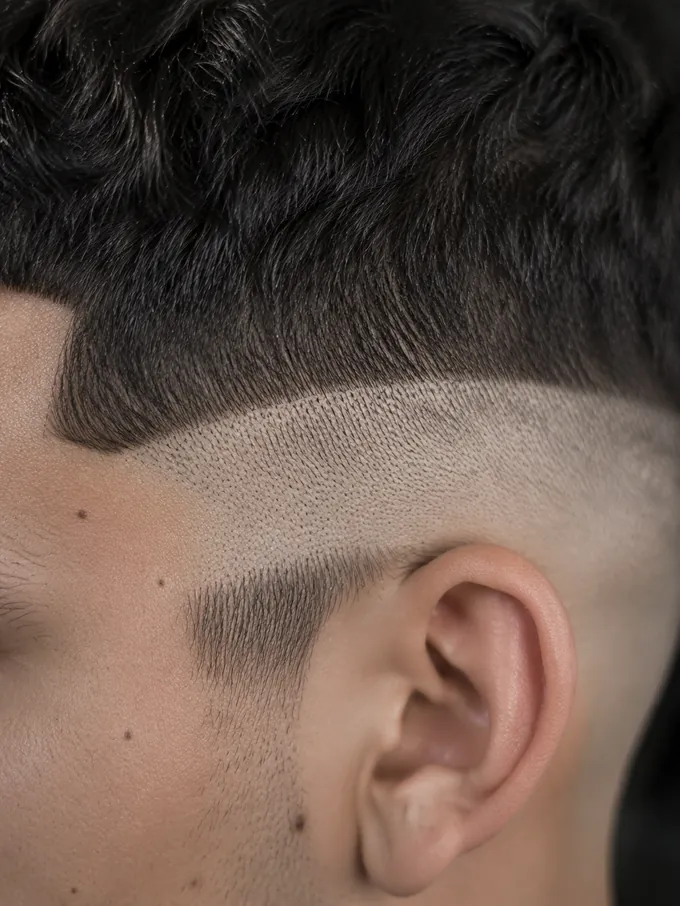
The fourth image is the outcome to avoid — a hard step where two guard lengths meet instead of a gradient. That's what "skipping guard sizes" looks like in practice, and it's the most common home-cut mistake.
What tools do you need?
How to cut a mid drop fade step by step
This is the sequence barbers follow. Read it through completely before you start, and give yourself an hour rather than twenty minutes.
-
1
Start with dry or barely damp hair
Never soaking wet. Wet hair clumps, cuts unevenly, and is hard on clipper blades. It also looks shorter wet than it does dry, which is how people accidentally go too short.
-
2
Section off the top and clip it out of the way
Comb the top forward or up and secure it. Everything below is the fade; everything above is untouched. Most first-timers accidentally clip into the top, and that's the one mistake with no quick fix.
-
3
Set the bottom guideline with a #1
Start at the bottom of the hairline and work upward in short strokes, stopping about an inch above the ear. Keep this line level all the way around for now — the drop comes later. Going up from the shortest length is the rule: you can always take more off, never put it back.
-
4
Mark the drop behind the ear
This is what makes it a drop fade rather than a level one. From mid-temple, guide the line backward and let it curve downward as it passes the ear, finishing lower at the nape. Use the hand mirror constantly here. Cut conservatively — you're establishing a shape, not finishing it.
-
5
Climb through the guards, one size at a time
Move to a #2 above your guideline, then a #3 higher up. Never skip a size. Each pass should overlap the one below by about half an inch so there's no visible boundary between them. This overlap is the entire secret of blending.
-
6
Use a rocking motion, not a straight push
As the clipper travels upward, gently rock the blade away from the head so it lifts out of the hair rather than stopping abruptly. A flat straight stroke leaves a hard edge; the rocking exit is what feathers it. This one movement separates a blend from a line.
-
7
Erase any remaining lines with the lever or a comb
Open the lever halfway to hit lengths between guards and run it over any visible boundary. Alternatively, hold a comb against the head and run the clipper over it. Both soften a line without removing much length.
-
8
Finish edges last, and check both sides
Neckline, sideburns and around the ears with the detail trimmer. Then compare left and right in the mirror, and check the profile. Asymmetry is far easier to spot now than tomorrow morning. The barber guide covers what a clean result should look like.
What goes wrong and how to fix it
| Problem | Cause | Fix |
|---|---|---|
| A hard visible line | You skipped a guard size, or pushed the clipper flat instead of rocking it out. | Open the lever halfway and pass over the line, or use clipper-over-comb. Work from above the line downward. |
| Patchy, uneven areas | Inconsistent pressure, or a cowlick pushing hair in a different direction. | Go over the area again against the direction of growth, with light even pressure. |
| The two sides don't match | Almost always because you can see one side better than the other. | Cut the weaker side first next time. For now, bring the higher side down to match the lower — never the reverse. |
| The drop isn't curving | You kept the line level out of caution, which is a very common instinct. | Lower the line behind the ear in small increments, checking the mirror between each pass. |
| Clippers pulling or snagging | Dry blades, a dull blade, or wet hair. | Stop, oil the blades, dry the hair. Pulling gets worse, not better, if you push through it. |
| Went too short | Wrong guard, or wet hair looking longer than it was. | Nothing fixes this but time. Blend the surrounding area down to match and treat it as a shorter cut than planned. |
How to recover a bad home fade
Stop cutting. The instinct is to keep going and even it out, and that is how a small problem becomes a buzz cut. Put the clippers down and look at it properly first.
Work out whether it's a line or a length problem. A visible line can usually be blended away with a lever pass or clipper-over-comb, losing very little length. A section that's too short can't be fixed at all — only matched.
If you can't blend it, go to a barber rather than continuing. Most will fix a home cut in one visit, and they'd rather see it before you've made three more attempts. Say plainly what you did — it helps them, and they've seen far worse.
The nuclear option is a buzz cut. One guard, all over, no blending. It always looks intentional, and at typical growth of about half an inch a month you'll be back to fade length in roughly two months.
When not to attempt it
- The night before an event. Wedding, interview, photos, first day — no. There's no time to fix it and no time to grow it out. This is the most common regret.
- With cheap clippers and no lever. Fixed-step guards can't blend. You'll get a stepped result no matter how careful you are, because the tool physically can't do the job.
- On your own head, as your first ever haircut. Cut someone else's first. You'll learn the motion with full visibility before attempting it blind.
- When you're rushed or tired. Fades reward slow, repeated small passes. Every bad home cut has "I was in a hurry" somewhere in the story.
- Straight after buying a clipper set, without watching the motion first. Reading about the rocking motion isn't the same as seeing it. Watch it done before you try it.
Does cutting it yourself actually save money?
Yes, substantially — if you get good at it. A mid drop fade at a barber runs roughly $680 a year on a three-week schedule before tips, or around $815 with them. A decent clipper set with a lever costs somewhere in the $60–150 range once, and lasts years.
So the break-even is fast — within two or three haircuts. That's the honest case for learning.
The catch is what a bad cut costs. A corrective visit is the price of a normal cut, plus you wear the result for a fortnight. Two or three failed attempts wipes out a year of savings in wearing-it-badly terms even if the money works out.
The middle path most people land on: pay a barber for the shape every 4–6 weeks, and do the neckline and edges yourself in between. That roughly halves the annual cost with almost none of the risk. The cost guide has the full breakdown.